




home about recipes how-to bookstore contact
Showing posts with label fondant. Show all posts

Tuesday, October 20, 2009

Tuesday Toppers: Pumpkin /Jack 'o Lantern

Tuesday Toppers: Pumpkin /Jack 'o lantern

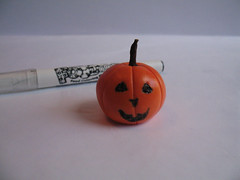
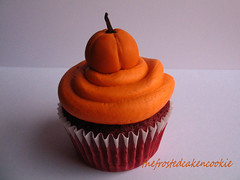
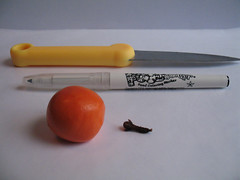
This week I'm going to show you how to make the second topper in my halloween set, this super simple pumpkin topper. Its so easy that it would be a great project to do with the kiddies in you life (just use the straight side of a butter knife). It would also make a great fall or Thanksgiving topper too! At the end I show you how to quickly turn it into a jack o' lantern . Here's what you will need to make one:
pumpkin6

-Knife
-Black edible marker (optional)
-Orange fondant
-Whole clove (available in spice section of grocery stores)
pumpkin5

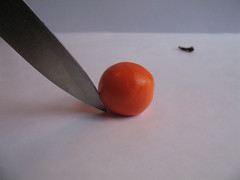
-Roll out a 1" ball of orange fondant. Take the knife and starting at the bottom, rock the knife upwards to make vertical indentations all the way around.

pumpkin4


pumpkin3

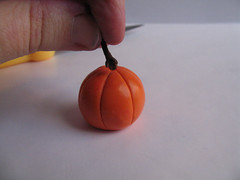
-Take the whole clove and gently press it into the top of the ball.
2

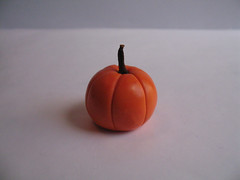
-Couldn't be any simpler!

pumpkin1

-If you want to make it a jack o' lantern, take the black edible marker and simply draw a spooky face on it!( One helpful tip is to let them sit over night to dry before drawing)

Happy Tuesday!
Tuesday, October 13, 2009

Tuesday Toppers: Witches Hats

Tuesday Toppers: Witch Hats

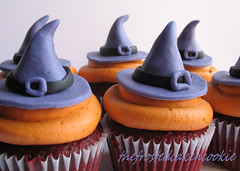
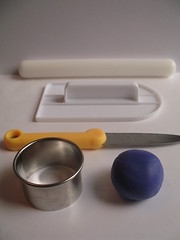
Well I think we finally got the flu out of our house! My daughter got it first, then me, then my youngest! It was quite the week! Luckily the hubby had it a few weeks back so I think he's been spared this time around. Now that the house is completely wiped down and sanitized I can pull out the fondant and get back to the fun :D. This week I'm starting the first of my three Halloween toppers, the witches hat. Here is what you will need to make one:
t 011

-Rolling pin
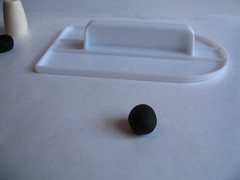
-Fondant smoother
-Knife
-2" round cookie cutter
-Purple and black fondant (I somehow forgot to put the black in the picture)

t 013

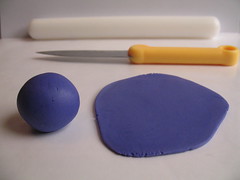
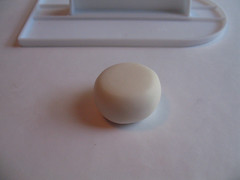
-Take the fondant and divide in half. Make a 1" ball and flatten the other piece.

t 014

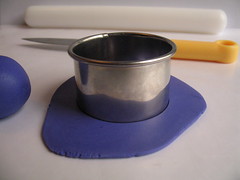
-Using the 2" cookie cutter, cut a circle for the brim of the hat.

t 017

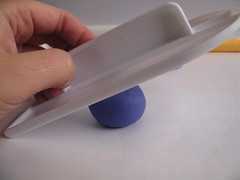
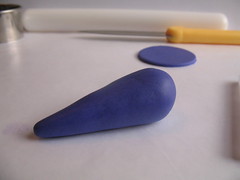
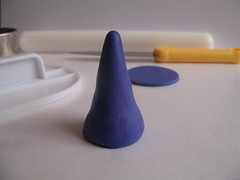
-With the fondant smoother at an angle form the ball into a cone shape.

t 018


t 019

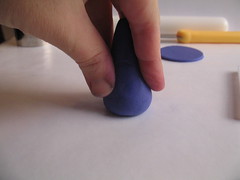
-Press the bottom down to flatten.

t 020

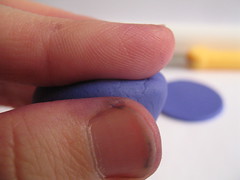
-Pinch edge so it will set better on the base. (ignore the funky colors on my thumb, I just colored the fondant, lol)

t 022


t 024

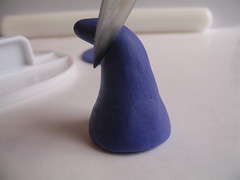
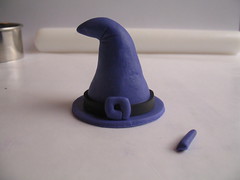
-Bend the tip down to one side and with the knife make three indents to simulate the fabric folding.

t 026

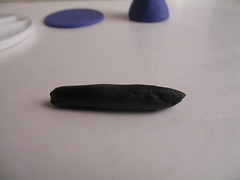
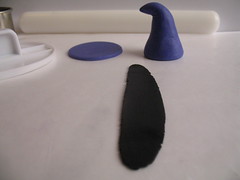
-Take a small amount of black and roll into a log.

t 027

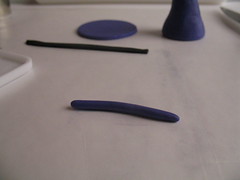
-Using the rolling pin roll it out to about 1/8" thick and cut a 1/4" strip to go around the hat.

t 029

-Take some of the excess purple and roll it into a thin rope.

t 030

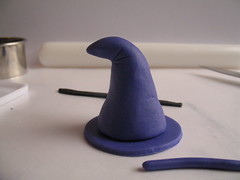
-Place the hat onto the base using a little bit of water to attach.

t 032

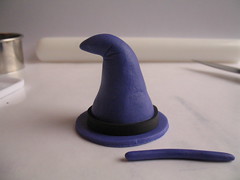
-Attach the black band.

t 033

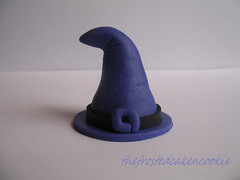
-Take the purple rope and form into a small circle then pinch out four corners for the buckle.

Witch Hat Topper

You are now ready to bewitch your guests with your awesome talents!

Happy Tuesday :D

Tuesday, September 22, 2009

Tuesday Toppers: Cake Cupcake

Tuesday Toppers: Cake Cupcake

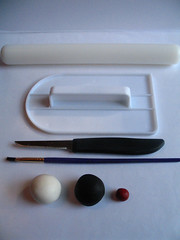
I had such a great time this past weekend. We have an annual Johnny Appleseed festival near us that we go to every year and I was lucky enough to get to go both days! On top of that it was my sisters birthday weekend so I made her a cake (I hope to post it soon) and we went out for dinner to celebrate. Unfortunately I'm going to have to workout for the next two days straight to make up for all of the yummy food I ate over the weekend, lol. Now on to this weeks topper. I'm finishing up my series of cake cupcake toppers and showing you how to make the cake topper. Here's what you will need to make one.

caketopper11

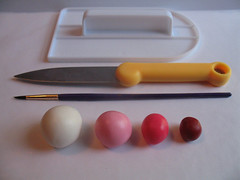
- Fondant smoother
-Knife
-Paint brush and water
-White, light and dark pink, and red fondant.

caketopper10

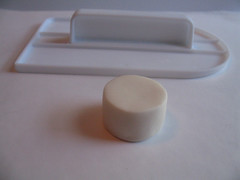
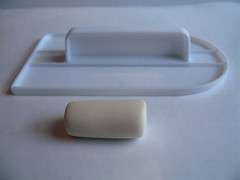
-Take the white fondant and flatten just slightly.

caketopper9

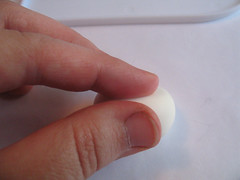
-Pinch the top and bottom edges all the way around.

caketopper8

-Then take the fondant smoother and smooth it into a cake shape.

caketopper7

-Take both of the pinks and roll into thin ropes. ( I think I'm going to have to invest in a fondant extruder!)

caketopper6

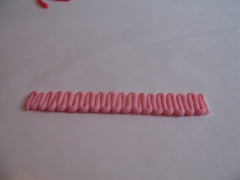
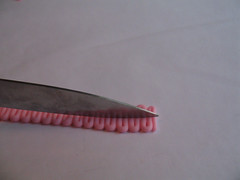
-Take the light pink and zig zag it back and forth bunching it as you go, making it about 3/8" wide.

caketopper5

-Cut in half.

caketopper4

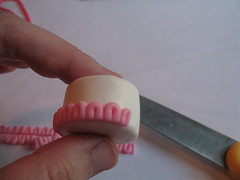
-Take the paintbrush and water and lightly go around the bottom of the cake. Next take on of the halves of pink and go around the base (it may not come up in once piece, and if it doesn't just piece together going around).

caketopper3

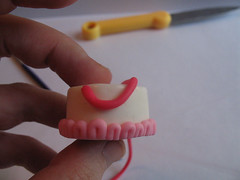
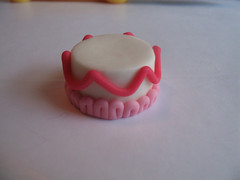
-Take the paintbrush and water and do the same around the top. Then take the darker pink fondant and make a scallop.

caketopper2


caketopper1

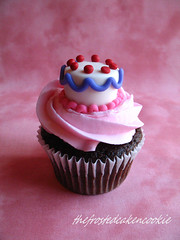
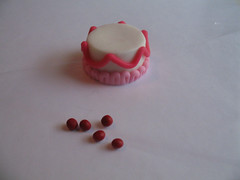
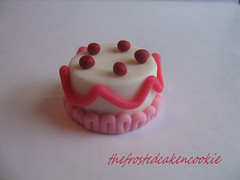
-For the cherries on top make 5-7 small balls of red and evenly place them on top of the cake with a little water.

cake cupcake topper

-Happy Tuesday Everyone!

Tuesday, September 1, 2009

Tuesday Toppers: Lighthouse Cupcakes

Tuesday Toppers: Lighthouse Cupcakes

I'm happy to report that we were able to fix the computer without too much pain ;D. And I was able to pull these cupcakes that I made for my mother-in-laws birthday out of my cupcake vault. She is a huge fan of lighthouses so these were the obvious choice for her! Today I am going to show you the basics of the lighthouses, but as you can see there are quite a few possibilities on how you can decorate them. Here's what you will need to make them:

lighthouse12

-Rolling pin
-Fondant smoother
-Knife
-Paint brush
-White, black, and red fondant

lighthouse10

-Take the white fondant and roll into a log.

lighthouse9

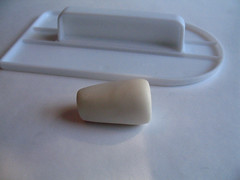
-With the fondant smoother make one end smaller than the other

lighthouse8

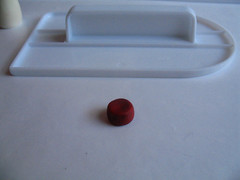
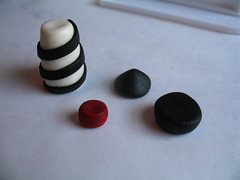
-take a small ball of red and flatten just slightly to form a fat disc.

lighthouse7

-take a larger ball of black and do the same.

lighthouse6

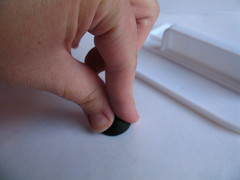
-For the top of the lighthouse take a ball of the black about the same size as the last piece and roll into a ball.

lighthouse5

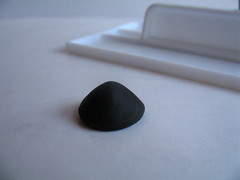
-With your fingers make a cone/pyramid shape.

lighthouse4


lighthouse3

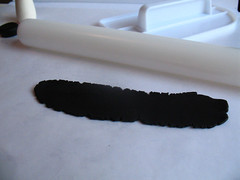
-For the stripes, roll out the remaining black fondant very thinly and cut into 1/8" strips.

lighthouse2

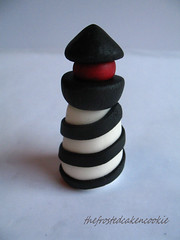
-Take the strips and decorate the white base as desired. Then attach the disc to the base, then the red, and finally the top cone.

lighthouse1 copy

-You can now beacon everyone to your cupcakes :D
Happy Tuesday, oops I mean, Wednesday Everyone!

Tuesday, August 18, 2009

Tuesday Toppers: Gromit Cupcake

Tuesday Toppers: Gromit Cupcake

Well luckily the heat has subsided a bit (unfortunately the humidity hasn't :P) and I can work with the fondant without it sweating too, too much. I just hope next week will be nice too because I'm going to be a busy girl, lol. My oldest daughter is turning 9 and I am going to make cupcakes for school Friday, a cake for her birthday sleepover, and a cake for the family party on Sunday. I have a feeling I'm going to be caked out before the weekend is up! Now for the Tuesday topper, I'm doing my final installment of my Wallace and Gromit cupcakes, Gromit. He's so simple to make and here is what you will need to make him:

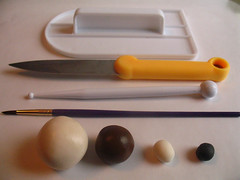
gromit11

-Fondant Smoother
-Knife
-Ball tool
-Paint brush
-Light tan, brown, white, and black fondant

gromit10

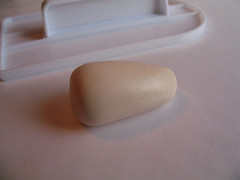
-Take the light tan fondant ball and roll into a fat log with one end slightly tapered.

gromit9

-Using the end of the paint brush and our index finger, form the forehead and the area for the eyes.

gromit8


gromit7

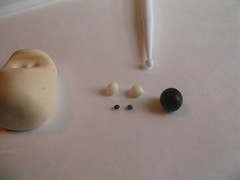
-Using the small end of the ball tool, make two indents for the eyes.

gromit6

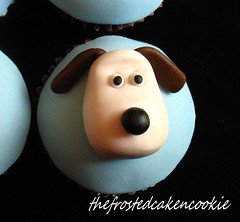
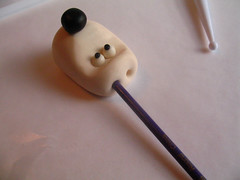
-For the eyes and nose, make two small balls out of the white and two very tiny balls out of the black. With the rest of the black form a ball for the nose. Attach with a small amount of water.

gromit5

-Using the back end of the paint brush make two holes in the top of Gromits head.

gromit4

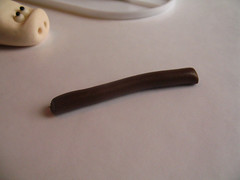
-For the ears roll the brown into a 1/4" log.

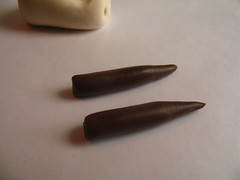
gromit3

-Cut in half and taper one end. Flatten slightly with the fondant smoother.

gromit2

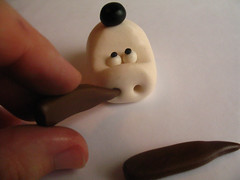
-With a small amount of water, insert the ears into the holes.

gromit1

Happy Tuesday everyone!