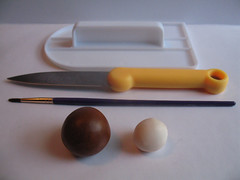
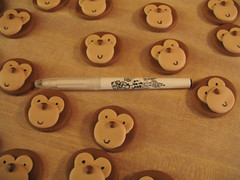
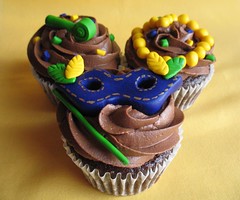
In this weeks edition of Tuesday Toppers I'm bringing out some cupcakes that I made for my daughters class as an end of the year treat. Most of the teachers at her school have classroom themes and last year her teacher did frogs and this year it was monkeys. So I went to work on a topper that was cute, but didn't take too long to make, mainly because I had to make 30 of them! They ended up being a huge hit so I thought I'd share them with you. Here's what you will need to make them (unfortunately I didn't get a picture of the items needed ):
-Rolling pin
-leaf veining tool
-1 3/4" circle cookie cutter
-Small metal icing tip (doesn't matter which one)
-Large metal icing tip (doesn't matter which one)
-Knife
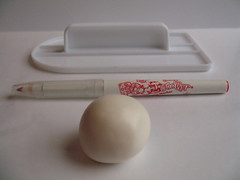
-Black edible marker
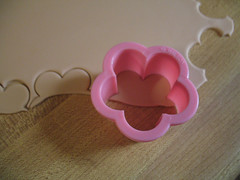
-1 1/2" 5 petal flower cutter (i used a wilton one that came in a rose making kit)
-Paint brush
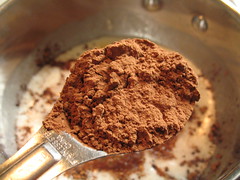
-Brown and tan fondant
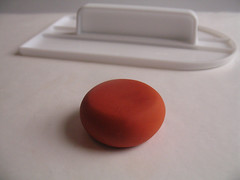
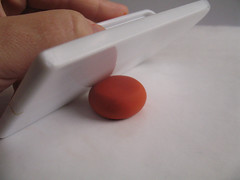
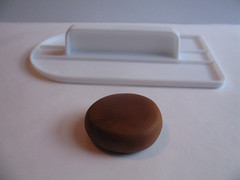
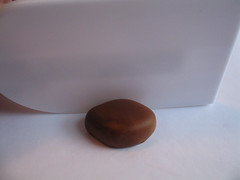
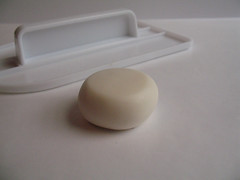
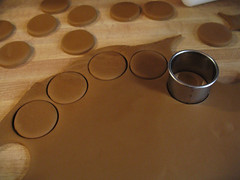
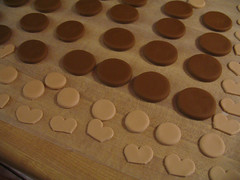
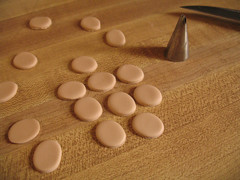
-Roll out the brown fondant to 1/4" and Using circle cookie cutter cut as many circles as you need.
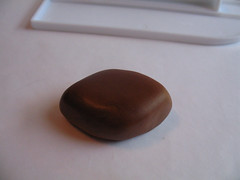
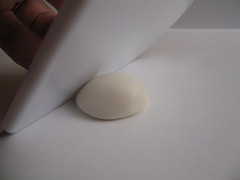
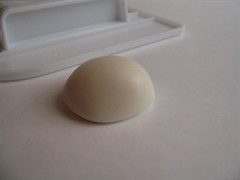
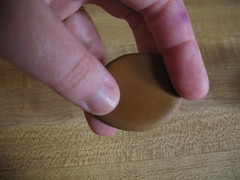
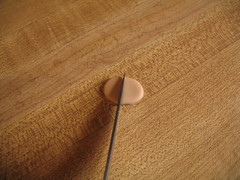
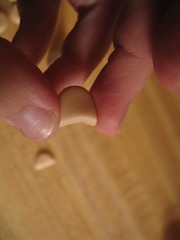
-Take the circles and stretch slightly to form an oval.
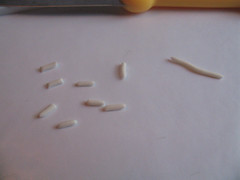
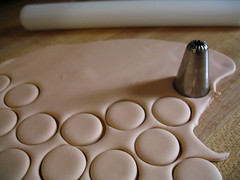
-Roll out some of the tan fondant to 1/8" and using the large piping tip cut out circles for the mouth.
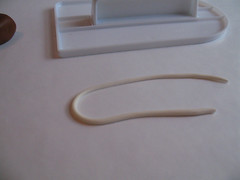
-For the eyes take some of the tan fondant and roll out very thin. Then take the flower cutter and cut out pieces with at least two of the petals.
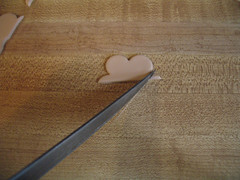
-Take the knife and cut off any excess pieces
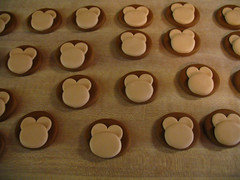
-All of the pieces ready to assemble.
-Take the eye pieces and with a touch of water attach them to the face.
-Do the same with the mouth.
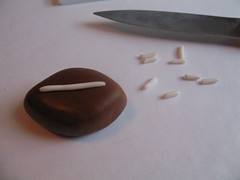
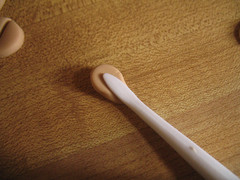
-Take some more brown fondant, make a thin rope and cut small pieces for the nose.
-Shape the pieces into tiny triangles with your fingers and attach to the face.
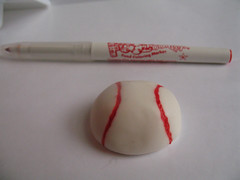
-Using the black edible marker make two dots for the eyes.
-And a small u for the mouth.
-For the ears, take the small icing tip and cut out some circles.
-Cut the circles in half.
-And squeeze the flat edge to make it narrow.
-Using leaf veiner, make an indent in the ear and attach to the back of the face. If you'd like to make the bows just roll out what ever color you want and using the small icing tip cut out a circle and pinch it the center and you have a super simple bow!
Now your ready to do some monkeying around :D
Have a great Tuesday everyone!